
Making it Easier: Upgrading to Squarespace 7.1
Since 2020 Squarespace website users have been debating whether to make the leap to upgrade to version 7.1 to get all of the latest features and a more convenient user experience but is there a way to make the process easier? While there is no automatic way to completely upgrade your website from one to another if you follow these manageable steps, it will make your experience much less frustrating from start to finish.
1. Prepare and Collect All Information for Conversion
Without the ability to automatically convert your site to 7.1 it requires you to collect your current assets like photos, content, blog posts, logos, and graphics that you would like to appear on your soon-to-be-built site. Having these items saved in one folder on your device or in the cloud will allow you to seamlessly copy those files to the new site. There is no need to make things harder on yourself by having to look in multiple places for your files.
2. Take Inventory of Your Current URL’s
While this can could be done during the preparation phase it is important enough to mention on its own. It is essential to try your best to not affect your SEO as much as possible. That can be done by making sure you keep track of all your current site links. Doing this will allow you to keep the same URLs and not only keep you from an SEO nightmare, but it will also ensure posts and links from around the internet stay functional and it will prevent your visitors from getting that dreaded 404 error.
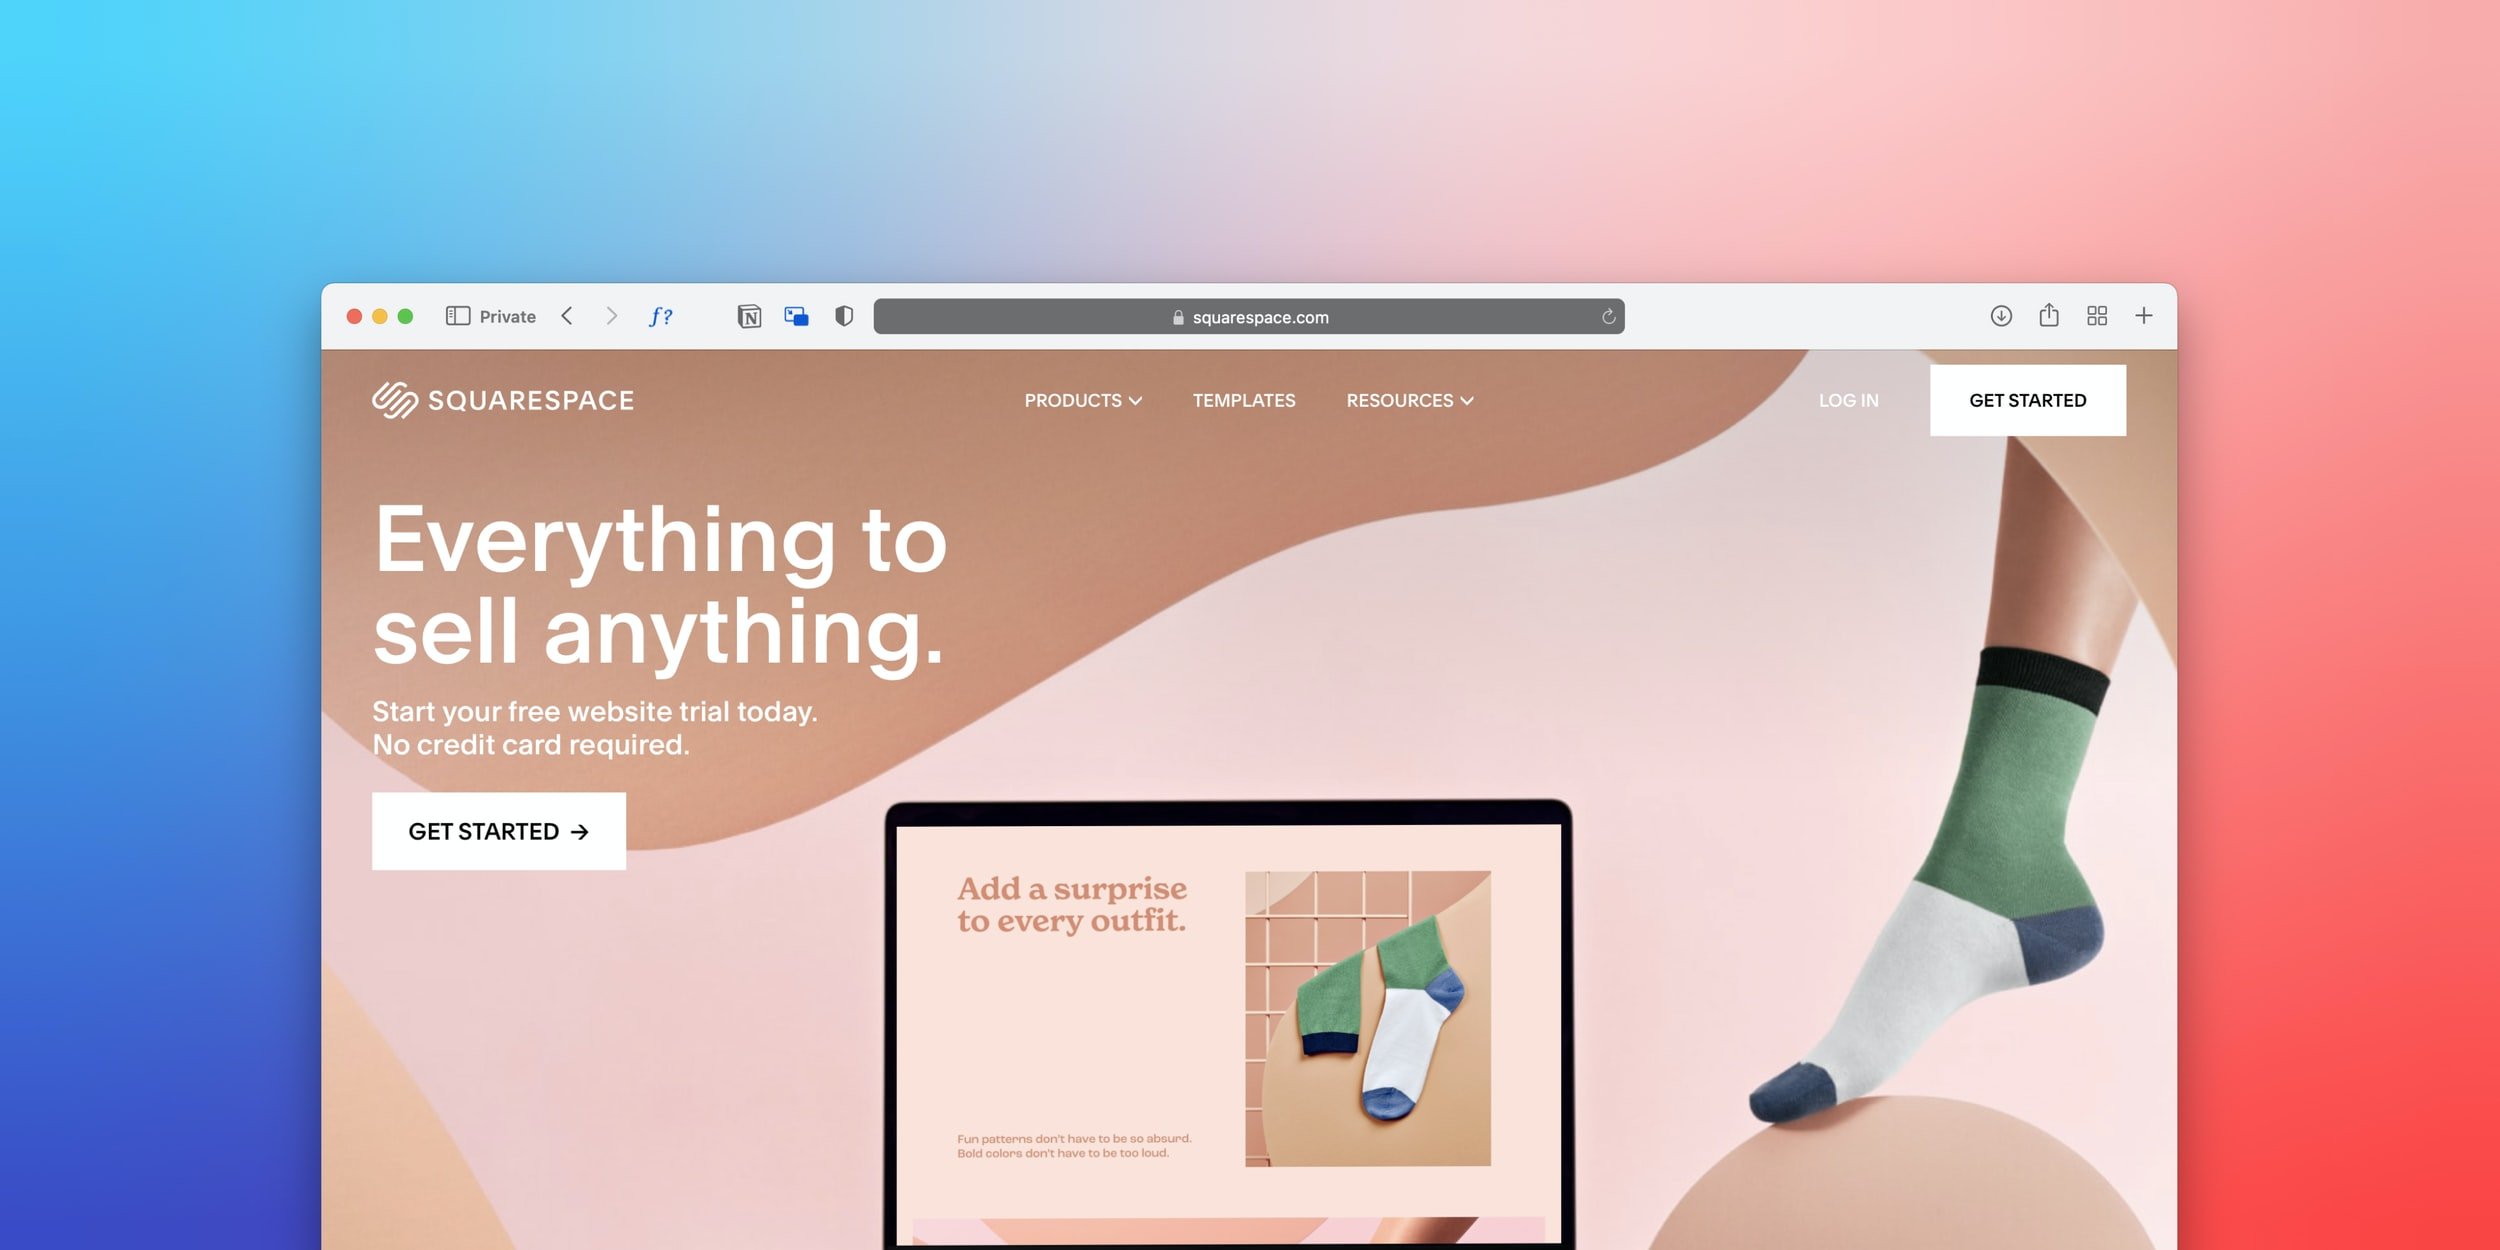
3. Jump Into the World of 7.1
Now that you have done a deep dive on your current site, now it is time to jump into something new. Under your current Squarespace account, you can create a free 14-day trial site using 7.1. You will first be prompted to select a template. If you are looking for a version that is similar to your current site but aren't quite sure what it is, Squarespace has created a template cheat sheet to help you. Even if you are not able to find a template that fits perfectly, you will be able to customize it to look similar and fit your brand's needs in the later stages of the build.
4. Build the Foundation of the Site First
While it might be appealing to just build your site top to bottom, page by page, you are better off building the foundation of each page first and then move into filling in the content. The first step would be creating each of the pages you plan to have on your site. Nothing in great detail, you will just need the shell. An important step in page creation is making sure that you have the pages that will be used in your navigation header under Main Pages and all others will go under the Non-Linked header section.
5. Customize Your Style All At Once
Now comes the exciting part. This is where your site will start to take the shape that you are looking for. You will get to take advantage of 7.1’s out-of-the-box features such as font packs that makes assigning font to your headings and paragraphs a breeze. Another popular upgrade from 7.0 is the suggested color palettes that you can keep or customize to your established branding. By creating these customizations now, you will be able to quickly choose between your predetermined colors later.
6. Import Your Content
Remember all the way back to step 1 when I mentioned that it will be worth it to keep everything from your current site in one place? This is where that long and tedious process will pay off. Thankfully the block structure in 7.1 is almost exactly the same as in 7.0 so you already know how to add the layout piece of each page. If you are just doing a simple upgrade, it will be a simple copy and paste of text or uploading of photos to your new site.
7. Double Checking Links
Once you have completed that step, it is important to go back through and double-check the links from the content that you just imported. If you go back and look at the document you created in Step 1, you can go link by link to make sure that everything has been copied and created correctly. If you find there is a page URL that you have updated, create a simple 301 or 302 URL redirect to keep visitors on your site.
8. Cancel Your Old Billing Plan
After you upgrade your newly created site and transfer your domain, you can now discontinue the functionality of your old site. The final step is contacting Squarespace to cancel your old billing plan. This is not done automatically so you will continue to get billed if you do not complete this step.
Conclusion
While upgrading to 7.1 is not mandatory by any means, it’s list of advantages will continue to grow larger as time goes on. Not only are users offered maintenance and inquiry priority but the day-to-day user experience will continue to get better as features are improved and rolled out to consumers. If you have any questions about converting your Squarespace site, we would love to hear from you!
Help Someone. Have Fun, Be You. Learn & Teach. Finish What You Start.